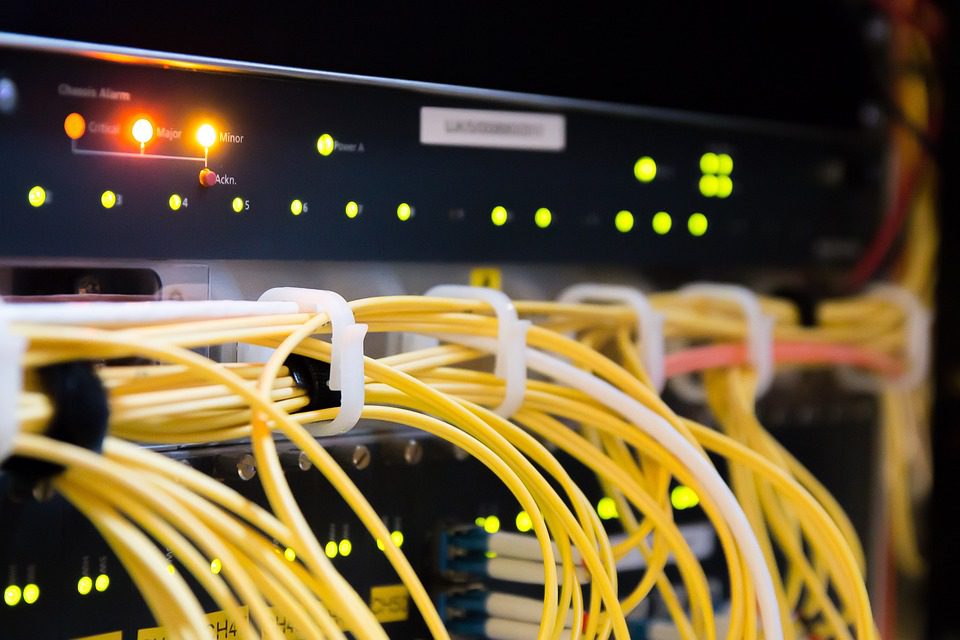
There are two honest ways to get a Windows Server environment for hosting and development: rent one from a cloud or hosting provider, or build one yourself with Hyper-V on hardware you already own. Both work, but they optimize for different things — speed and zero maintenance versus control and zero recurring cost. This guide walks through both paths with concrete specs, commands, and a decision checklist, so you can pick the one that matches your workload instead of whichever tutorial you found first.
Path 1: Hyper-V on your own hardware
Hyper-V is built into Windows 10/11 Pro and every Windows Server edition, so the hypervisor costs nothing extra. It is the right choice when you already own a machine with enough RAM and you want full control over snapshots, networking, and disk layout.
Enable the hypervisor and create the VM
- Install the role:
Enable-WindowsOptionalFeature -Online -FeatureName Microsoft-Hyper-V-All(reboot required). - Create a Generation 2 VM — required for Secure Boot and modern Windows Server 2022/2025 guests:
New-VM -Name "DevServer" -MemoryStartupBytes 4GB -Generation 2 -NewVHDPath "D:\VMs\DevServer.vhdx" -NewVHDSizeBytes 80GB. - Attach the ISO:
Set-VMDvdDrive -VMName "DevServer" -Path "C:\ISOs\Win2025.iso". - Boot and install:
Start-VM -Name "DevServer"then connect viavmconnect. - Enable nested virtualization only if you genuinely need it (e.g., WSL2 or Docker inside the guest):
Set-VMProcessor -VMName "DevServer" -ExposeVirtualizationExtensions $true.
| Workload | vCPUs | RAM | VHDX (dynamic) |
|---|---|---|---|
| Dev / CI build agent (.NET, Node) | 2 | 4–8 GB | 80 GB |
| IIS + small SQL Server Express | 4 | 8–16 GB | 120 GB |
| SQL Server Standard / heavy IIS farm node | 8 | 16–32 GB | 200 GB+ |
Enable dynamic memory (Set-VMMemory -VMName "DevServer" -DynamicMemoryEnabled $true -MinimumBytes 2GB -MaximumBytes 16GB) for dev VMs — production SQL Server should use static memory to avoid paging spikes.
Path 2: Cloud provider templates
Renting is faster: you pick a Windows Server template, get RDP credentials in minutes, and skip hardware, snapshots, and power bills. Providers differ mainly in CPU generation, storage type (NVMe vs SATA), DDoS protection, and whether licensing is included — the comparison table on our Windows VPS page covers exactly those differences. Two practical tips for any provider:
- Pick a template, not a blank install: provider images come pre-configured with RDP, firewall defaults, and activation (AVMA/KMS). A blank ISO install means you handle licensing and remote management yourself.
- Right-size from day one: most providers allow upgrades but charge for downgrades or make you reimage. Start with the specs your load test says you need, not the cheapest tier.
First-boot checklist (both paths)
- Change the administrator password and create a separate daily-driver account (no admin rights for routine work).
- Run Windows Update to the current patch level — templates and ISOs are routinely 1–6 months behind.
- Enable RDP only if you need it, and restrict it to your IP range in the firewall/provider security group.
- Verify activation:
slmgr /dlvshould show “Licensed” (AVMA/KMS on provider images; your own key on Hyper-V). - Install IIS (
Install-WindowsFeature Web-Server) or your dev toolchain before pointing DNS at the box. - Take a snapshot/checkpoint immediately after first boot — it is your rollback point for the next year.
Networking and backups for both paths
Networking is where the two paths diverge most. On Hyper-V, a VM on the default switch is NAT’d and invisible to your LAN; use an external virtual switch bound to your physical NIC to give the guest a LAN address, then reserve a static IP in the router’s DHCP scope. If the guest must answer on the public internet, port-forward 3389/443 on your router and keep the guest behind firewall rules — never expose it directly. On a rented provider, the equivalent work happens in the control panel: assign the static IP, attach the VM to the right network, and open only the ports you need in the security group. Backups differ too. Hyper-V checkpoints are crash-consistent and free, but they are not backups — a corrupted VHDX takes every checkpoint down with it. Export the VHDX or run Windows Server Backup to a second disk. Providers usually sell snapshots cheaply; take one before every major update and keep at least two generations on a different storage tier than the VM itself.
Common mistakes
- Creating Generation 1 VMs for new installs — no Secure Boot, no UEFI, slower boot times.
- Fixed-size VHDX for dev workloads — dynamic disks waste nothing until you actually use the space.
- Patching the guest while forgetting the Hyper-V host itself needs updates and backups too.
- Buying a 1 GB RAM tier for a .NET build agent — builds page-swap for hours and time out.
Decision checklist
- Choose Hyper-V when: you own the hardware, want snapshots and offline dev, or need to test Hyper-V-specific features; total cost is your electricity bill.
- Choose a provider when: you need a public IP with DDoS protection, uptime guarantees, or the ability to scale RAM/disk without buying hardware; licensing is included in the plan.
- Hybrid is normal: develop on Hyper-V locally, deploy to a rented Windows VPS for staging and production. The feature breakdown on our Windows VPS page helps you match specs to the staging environment so the two don’t drift apart.
Neither path is objectively better — a solo developer building .NET MAUI apps is better served by an 8 GB Hyper-V VM, while a client-facing IIS site needs the uptime and public networking of a rented server. Map your workload to the table above, provision accordingly, and take that first checkpoint before you configure anything else.
Related Articles:
 Startup and Recovery Settings on a Windows VPS: Automatic Restart, Service Recovery, and Boot Repair
 Connect to a Windows Server from Windows 10 Home: RDP Client Setup, CredSSP Fixes, and Saved Credentials
 Windows Firewall Rules That Matter: Profiles, Scopes, and Logging
Running Node.js on IIS with iisnode: Windows VPS Setup and Process Management
Windows Firewall Rules That Matter: Profiles, Scopes, and Logging
Running Node.js on IIS with iisnode: Windows VPS Setup and Process Management