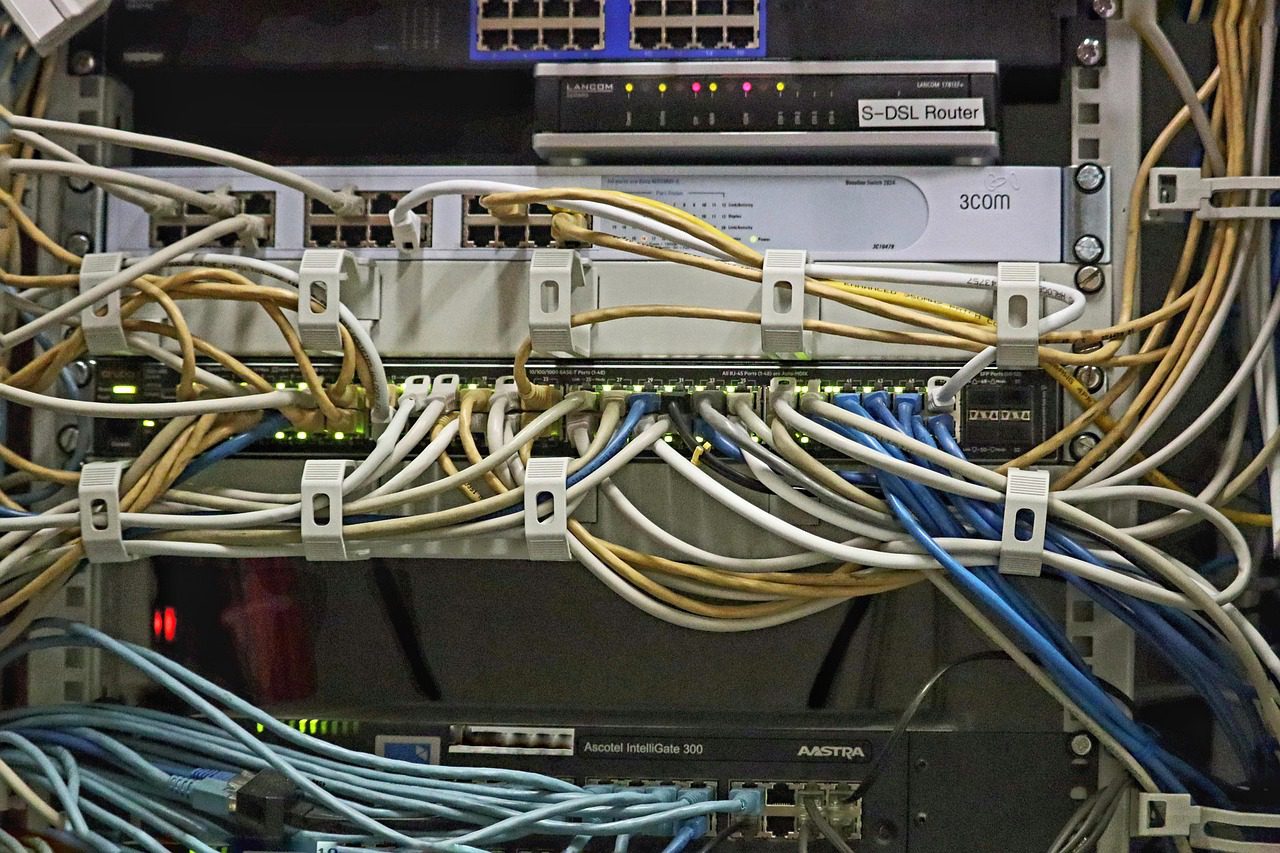
Setting up a Windows VPS is a sequence of small decisions: which plan, which OS image, which region, which administrator password, and finally the moment of truth when you connect over Remote Desktop for the first time. None of the steps are hard on their own, but doing them in the wrong order creates avoidable rework. This guide walks through the entire flow from provider signup to a working first RDP login, with the commands you need along the way.
The most important decision comes before any signup: what the server is actually for. A .NET web application, a SQL Server database, a CI build agent, and a remote workstation all need very different amounts of CPU, RAM, and storage. If you are still weighing vendors, compare Windows VPS plans side by side to see how specs, pricing, and included bandwidth stack up before you commit.
Step 1: Choose the Right Specs
For light IIS and .NET workloads, 2 vCPUs and 4 GB of RAM is a comfortable floor. SQL Server, build agents, and anything running multiple application pools will be happier with 4 vCPUs and 8 GB. Storage matters more than most buyers expect: Windows Server is an I/O-hungry guest because of the pagefile, Windows Update, and real-time Defender scanning, so an NVMe-backed plan is worth the premium if the budget allows. Also check the monthly traffic allowance and the speed of the network port — both show up in day-to-day use far more than the CPU clock speed.
Step 2: Pick the OS Image
Most providers offer Windows Server 2022 and 2025 templates, plus Windows 10 and 11 images for workstation-style use. For production, choose Windows Server 2022 unless you specifically need 2025 features. Decide between Server Core (no GUI, smaller attack surface, managed through PowerShell) and Desktop Experience (full GUI, friendlier for beginners). Both run the same services; the GUI is a convenience, not a requirement. Licensing is usually included in the VPS price under the provider’s SPLA agreement, so you typically do not need to bring your own license key.
Step 3: Provision the Instance
During provisioning, choose a region close to your users, pick a hostname you will recognize in DNS and monitoring, and set a strong administrator password. The provider will display or email the IP address and password — store them somewhere safe. If the control panel offers a post-deployment script, you can pre-install updates, set the time zone, or install Chocolatey before the first login, which saves a lot of clicking later.
Step 4: Connect Over RDP
Remote Desktop (RDP) is the standard way to reach a Windows VPS. On Windows, open the built-in Remote Desktop Connection client:
mstsc /v:203.0.113.10On macOS or Linux, the Microsoft Remote Desktop client works the same way. Most VPS templates arrive with RDP already enabled; if the connection is refused, the two commands that enable it and open the firewall are covered in the RDP setup guide on this blog. Accept the certificate warning on first connect — it appears because the server presents a self-signed certificate — and log in with the administrator credentials from provisioning.
Step 5: First-Login Housekeeping
- Change the administrator password and create a second admin account for daily work so you are not always logged in as the built-in Administrator.
- Run Windows Update immediately and reboot until the server is fully patched — this is the single biggest factor in first-week stability.
- Confirm the OS is activated with
slmgr /dlv; activation errors are one of the most common first-day problems on Windows VPS instances. - Set the correct time zone and verify the clock, because Kerberos authentication and TLS certificate validation both depend on accurate time.
slmgr /dlvStep 6: Lock Down Remote Access
Before installing anything else, confirm Windows Firewall is on, the Remote Desktop rule is limited to the port you intend to use, and Network Level Authentication is required. If you plan to expose RDP to the internet, enable account lockout, consider moving RDP off the default port, and restrict the Remote Desktop Users group to named accounts. These few settings stop the overwhelming majority of brute-force traffic before it ever reaches the logon screen.
Step 7: Install What the Server Is For
With a patched, locked-down server, install the actual workload: the .NET Hosting Bundle and IIS for web applications, SQL Server for databases, or build tools for CI agents. Prefer package-based installs (Chocolatey or winget) so the setup is repeatable. Once everything is configured and tested, take a snapshot from the provider control panel — that snapshot becomes your rollback point for the lifetime of the server.
Step 8: Verify From the Outside
Finally, test the server from a machine that is not on the same network. If you opened ports for web or SSH, confirm they respond; if you did not open them, confirm they are closed. A quick Test-NetConnection from your local machine tells you whether RDP is reachable through the provider’s firewall as well as the Windows one:
Test-NetConnection 203.0.113.10 -Port 3389That is the whole loop: plan, provision, connect, patch, secure, install, verify. The setup itself takes under an hour, and the habits you build on day one — patching, snapshots, least privilege — are what keep a Windows VPS boringly stable for years. If you have not picked a host yet, see the full specs and pricing of the best Windows VPS providers before you sign up.
Related Articles:
 Windows VPS Networking: Static IPs, DNS, and NIC Teaming on Windows Server
 Everyday Windows VPS Administration: Services, Scheduled Tasks, Logs and Disk Housekeeping
 Enable Program Installation on Windows Server: Fix the ‘Blocked by System Administrator’ Error
 Windows VPS for Remote Desktop: Optimizing RDP Performance for Remote Work in 2026